After a long battle at a very bad time in the housing market here in Los Angeles – California, my wife and I finally landed a successful offer and got ourselves a nice condo in Downey – California! …Little did we know, that we are heading towards a very hard and rewarding IKEA kitchen project.
Although the house was in a very livable condition, we had an existing living arrangement that we were comfortable with and had some time on our hands to do some major remodeling before moving in.
One of the areas we really wanted to put our efforts into was the kitchen. The kitchen space we have was small and we wanted to come up with a way to maximize the space as much as possible. We wanted plenty of storage space and full size appliances as well.
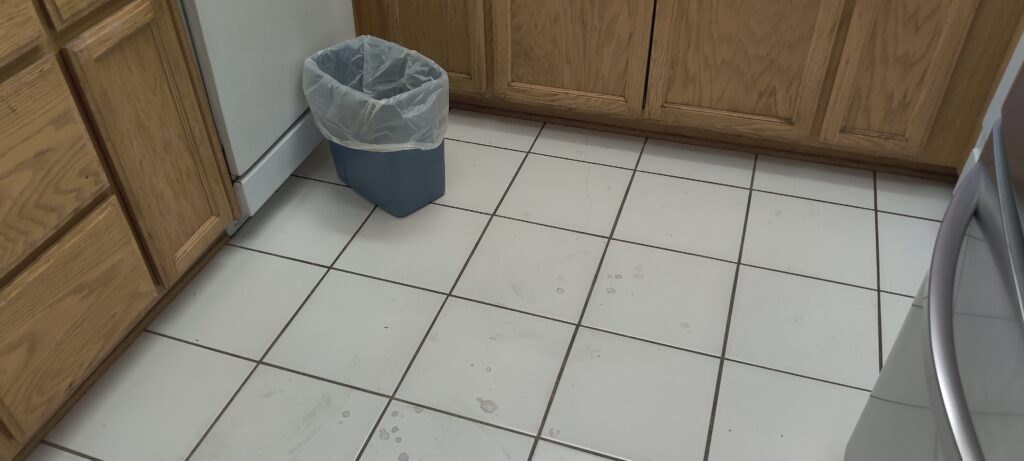
What we started with…
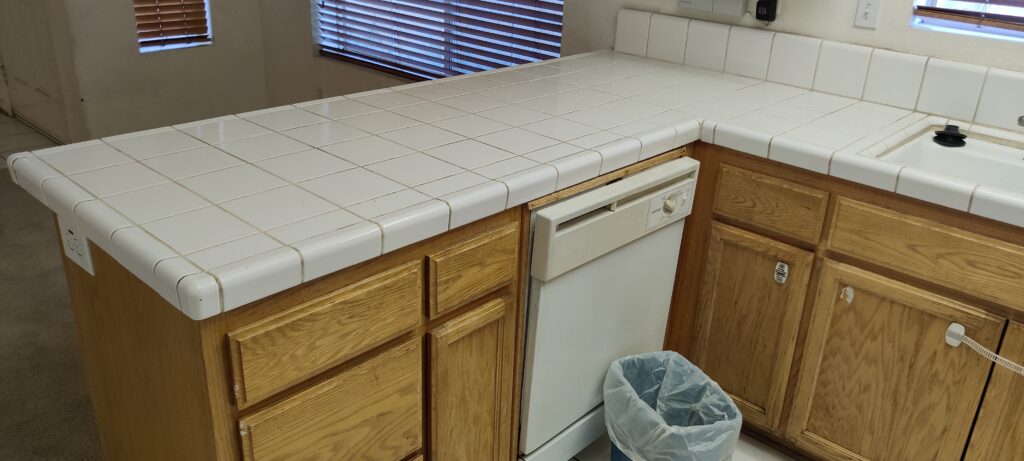
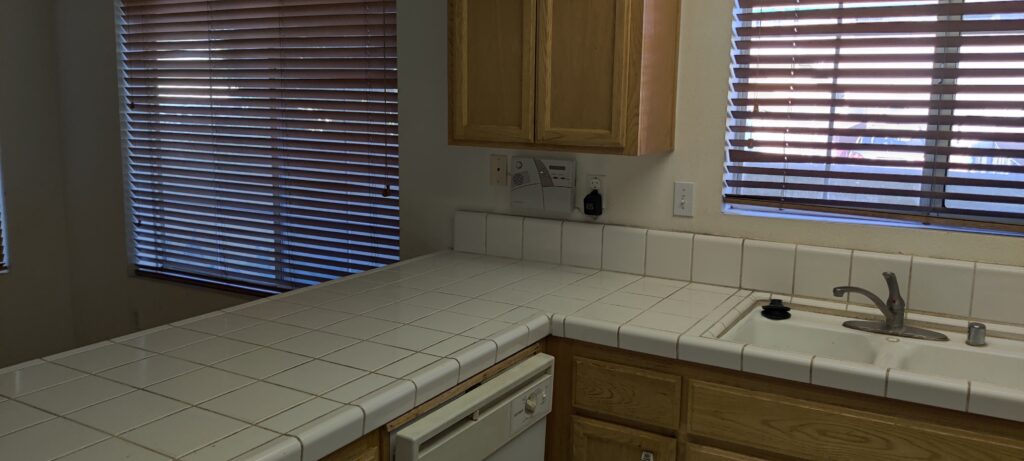
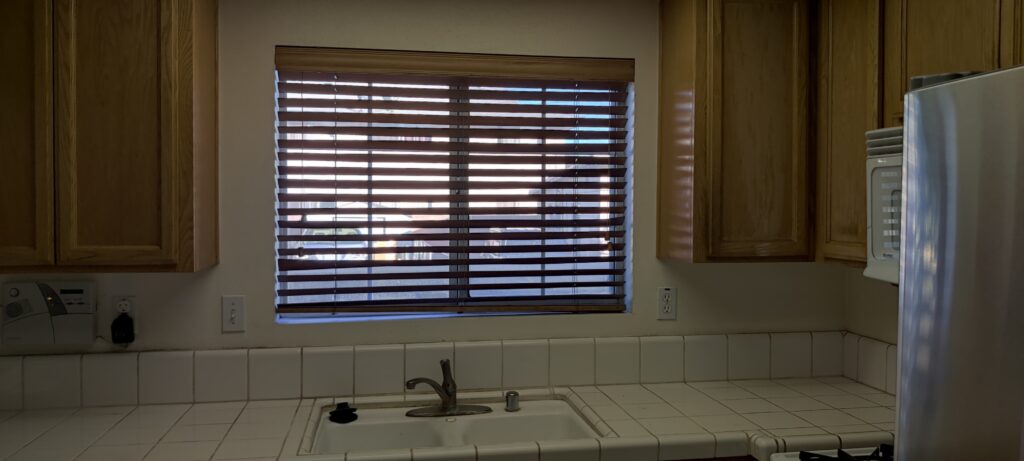
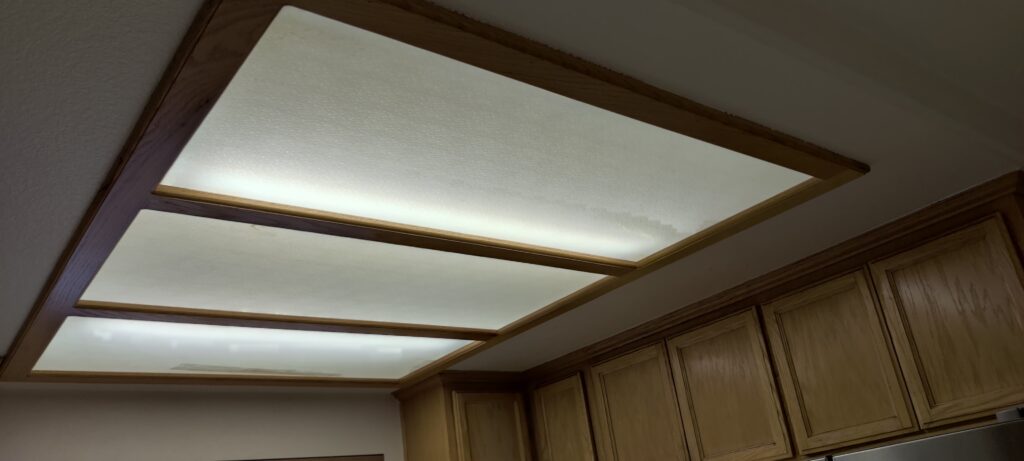
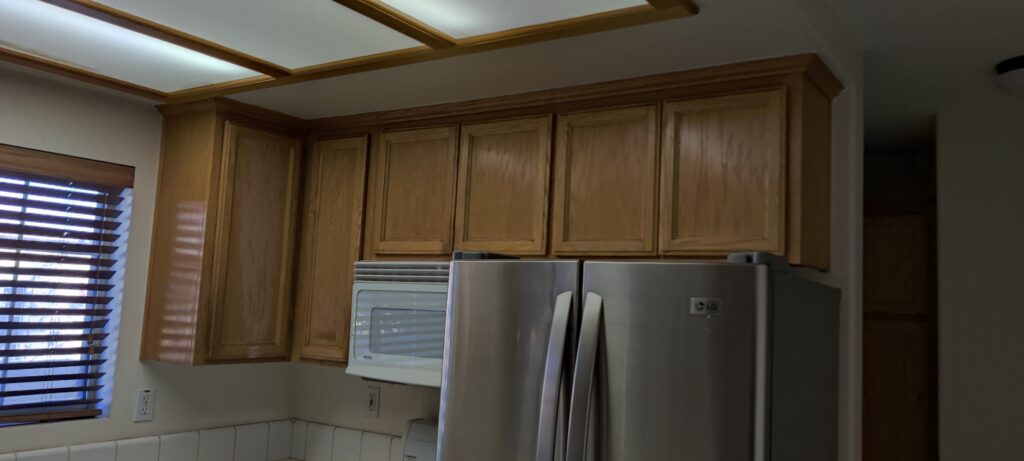
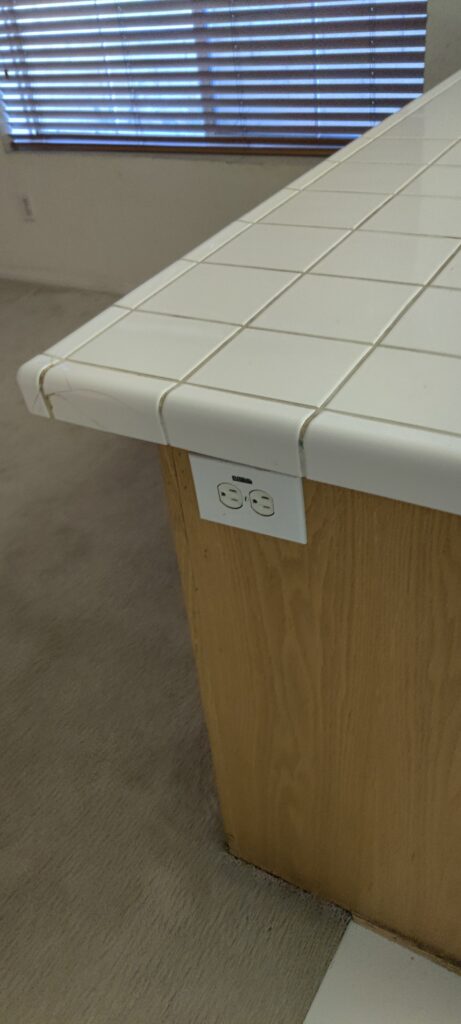
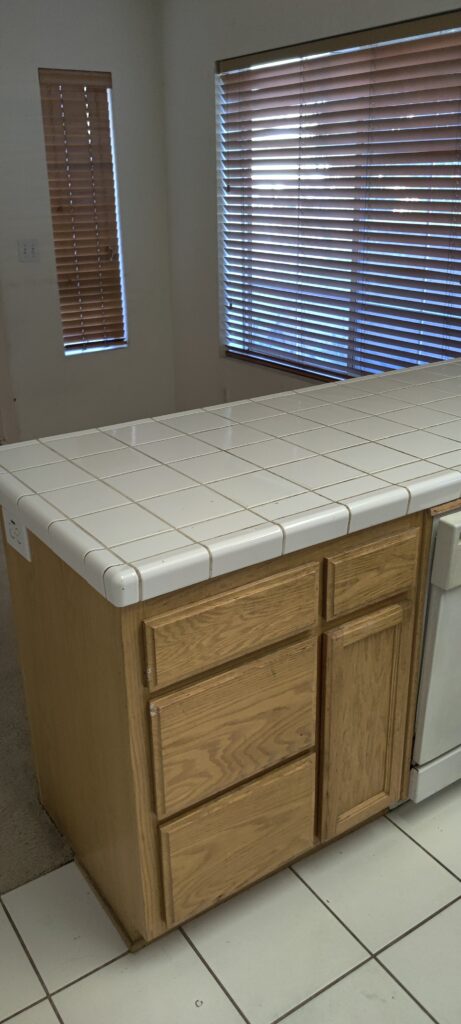
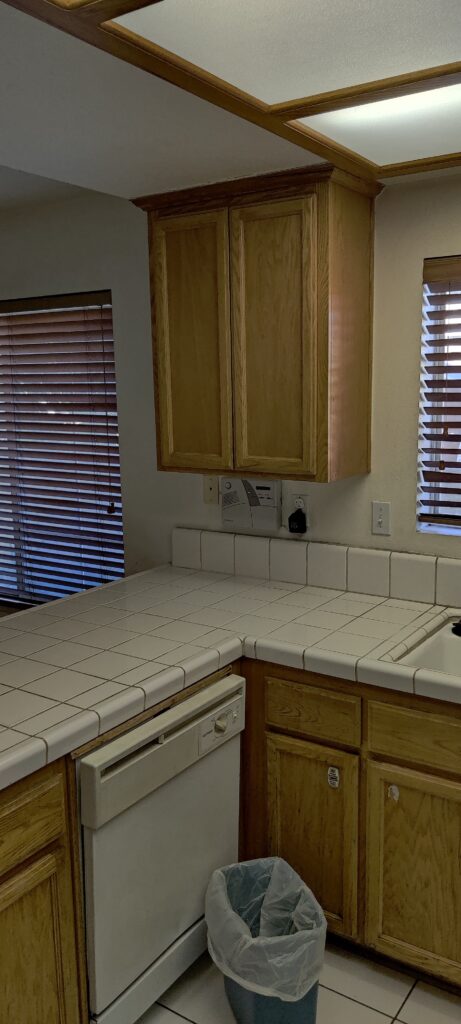
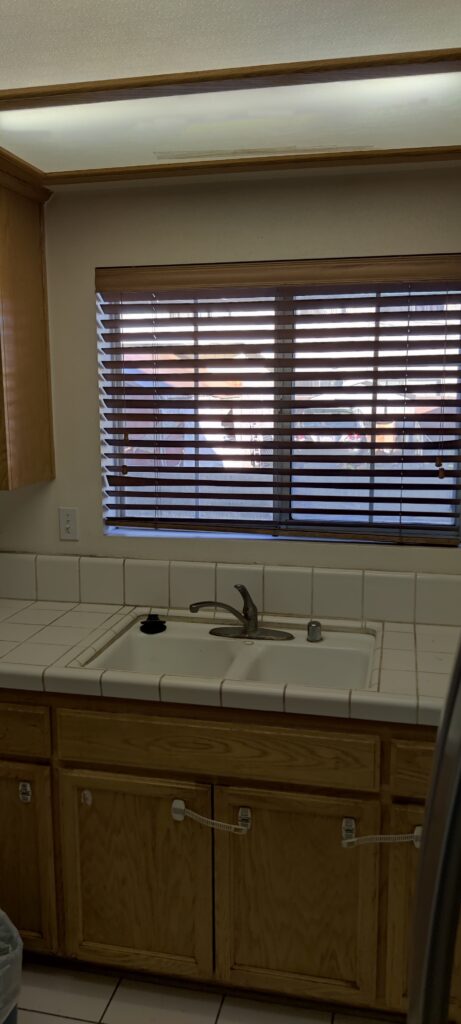
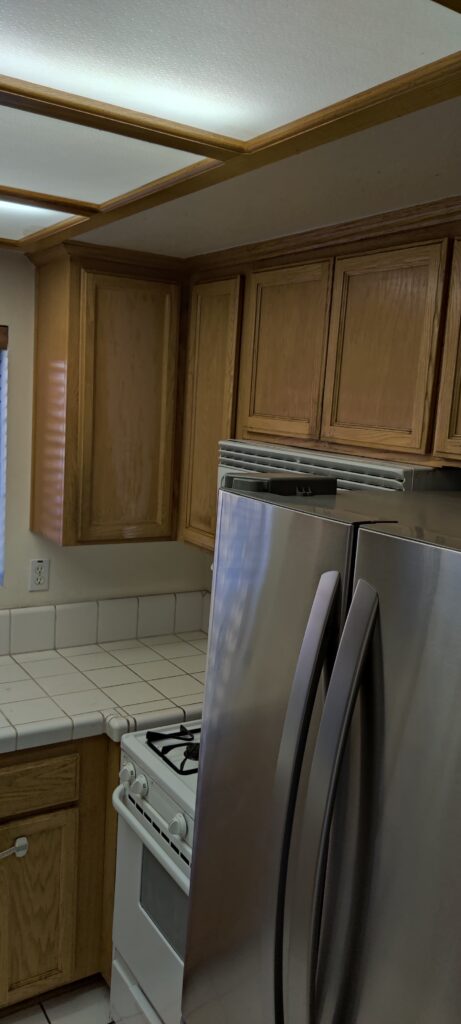
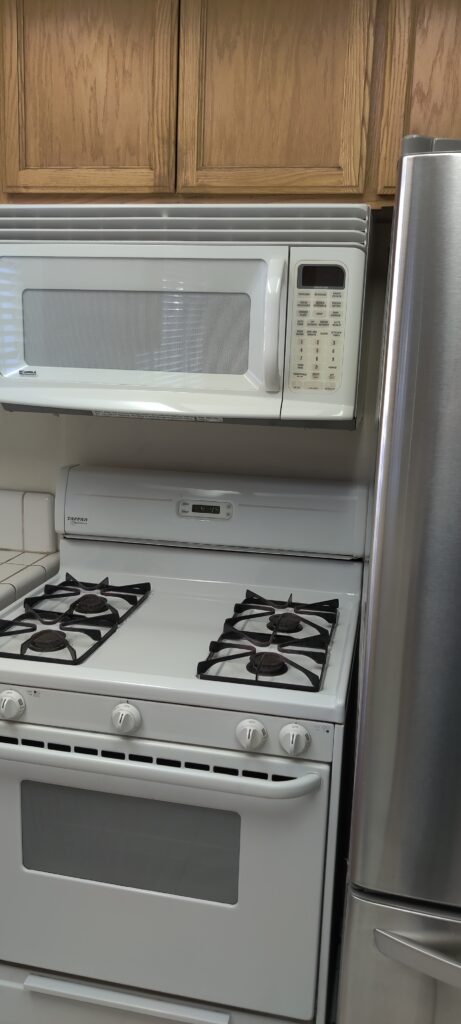
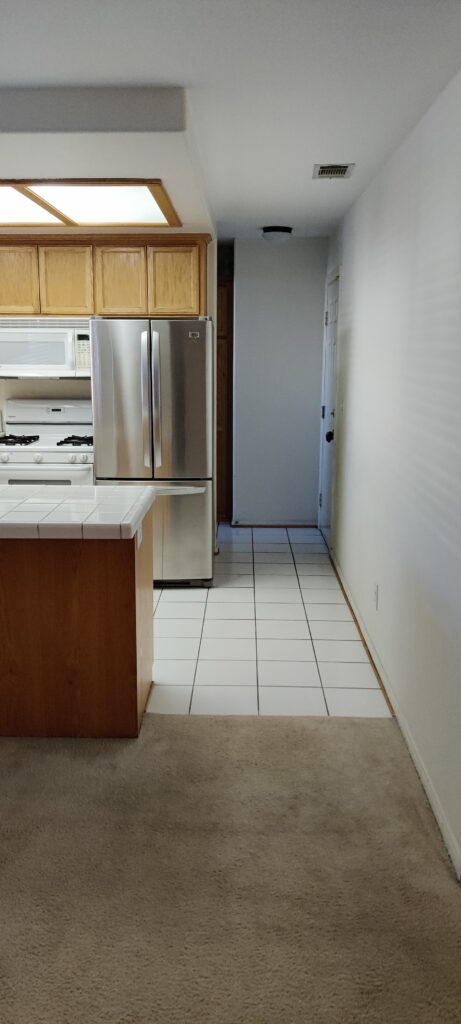
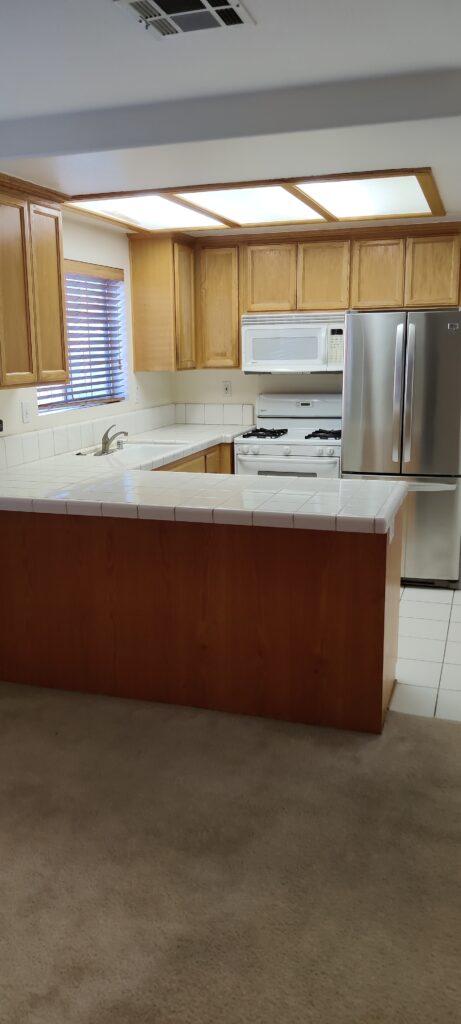
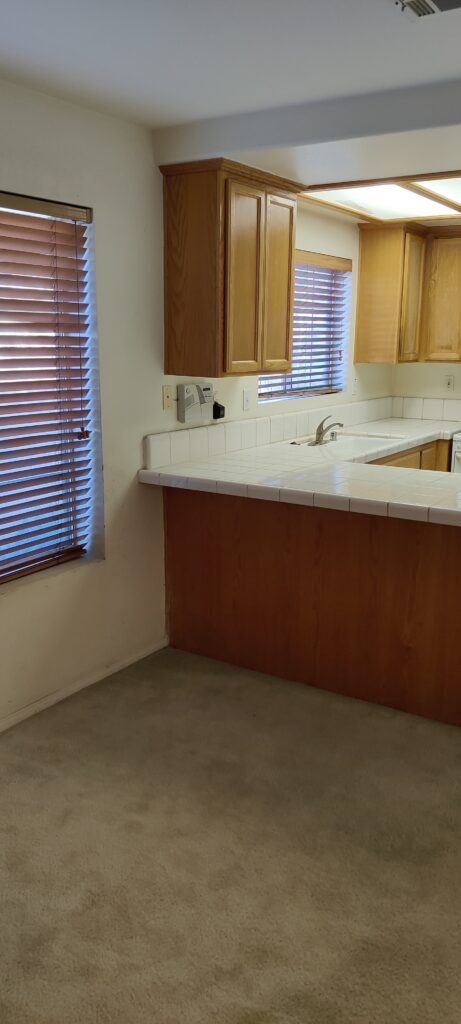
The things we did not like:
- Old looking design from ceiling to floor
- Countertop space was limited, especially around the range and fridge area
- Storage space was limited and much of it was hard to get to
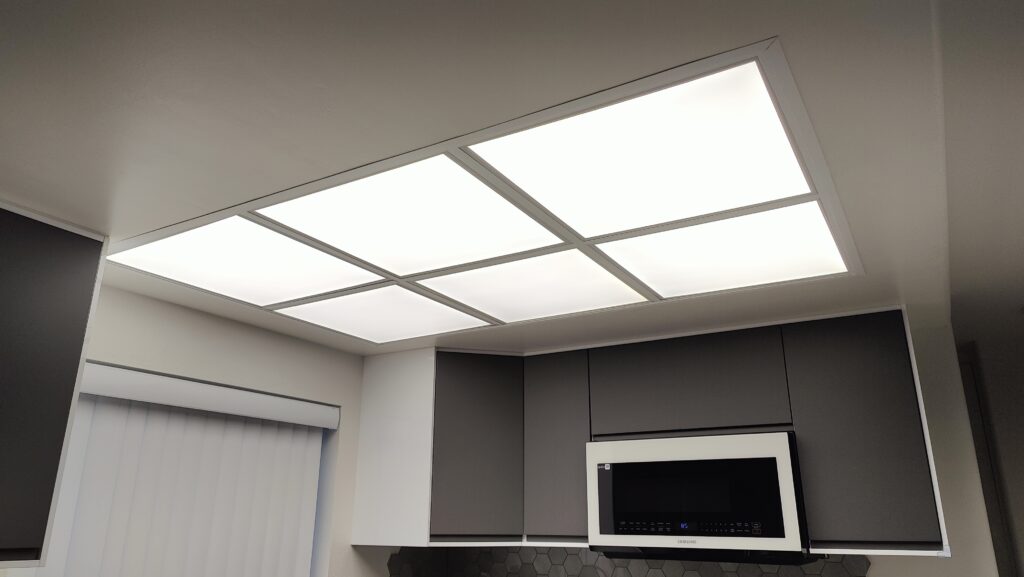
- My wife hated the way the ceiling lights looked and also wanted more lighting
- I hated how the fridge was shoved right next to the range making it hard to operate the range.
Tear it all down!
We decided to go ahead and actually tear it all down. This would give as a nice fresh start and also allow us to easily change out the flooring to something a little more modern.
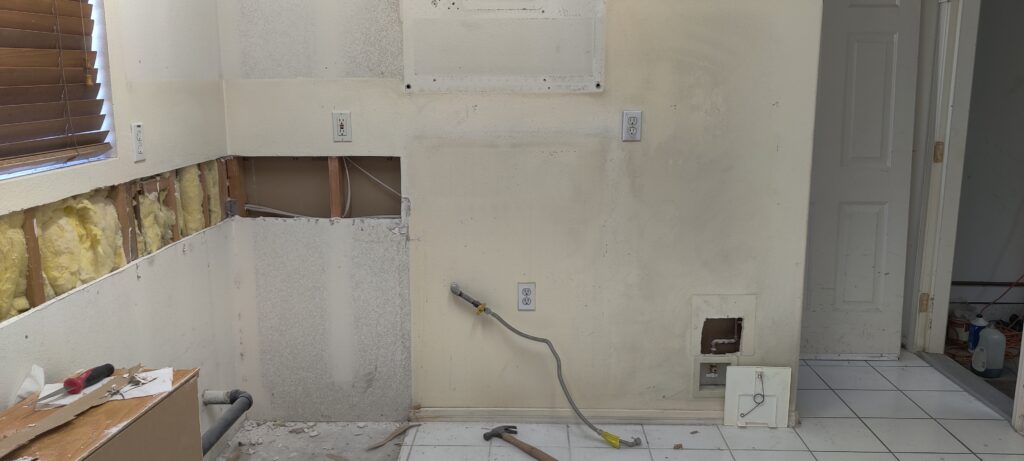
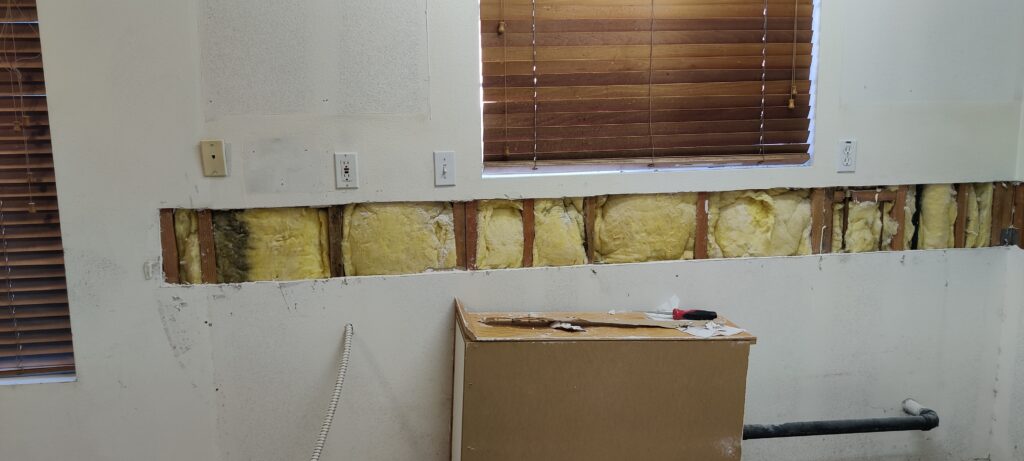
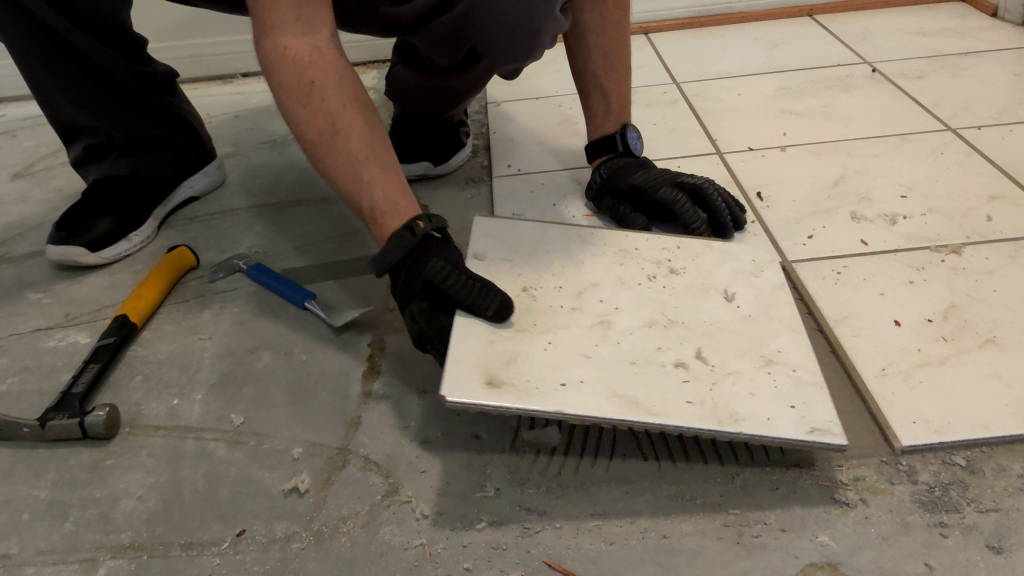
I got to admit, tearing it all away was a lot of fun, but also a lot of work. Unfortunately, I ended up damaging part of the drywall that the old backsplash was glued onto. But, replacing it with a new piece of drywall was pretty easy and it also gave us a good look at whats behind the wall. Knowing were the electrical and piping is located came in handy later on.
Leveling the floor
One of the most helpful and important decisions we made was to level our floor. It was very uneven and would have made it very difficult for us to build our new IKEA kitchen with precision.
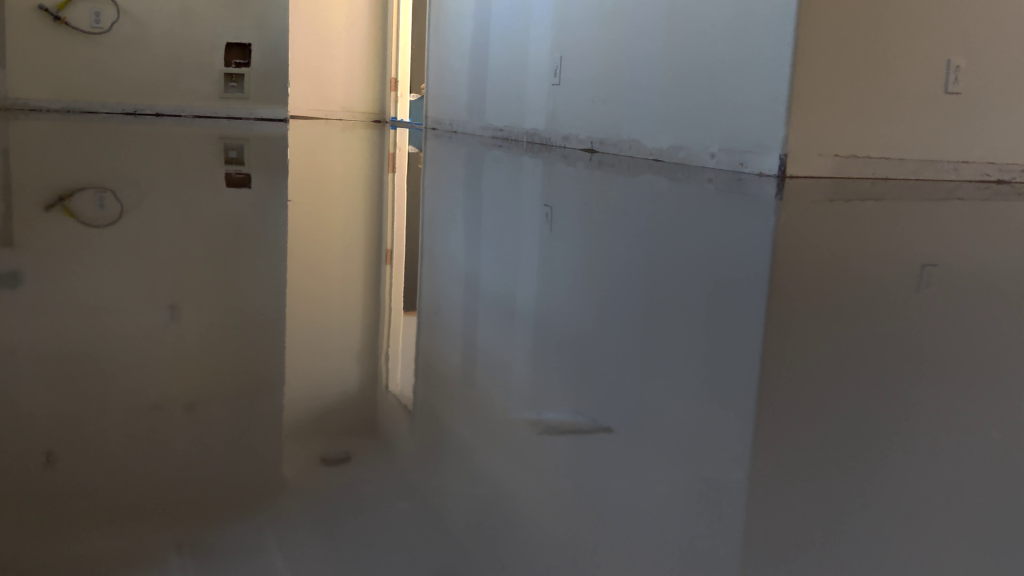
The process of leveling a concrete floor is essentially by pouring additional self-leveling concrete over the existing uneven surface. There is quite a lot that goes into this and we hired professionals to get this done correctly.
Installing vinyl flooring
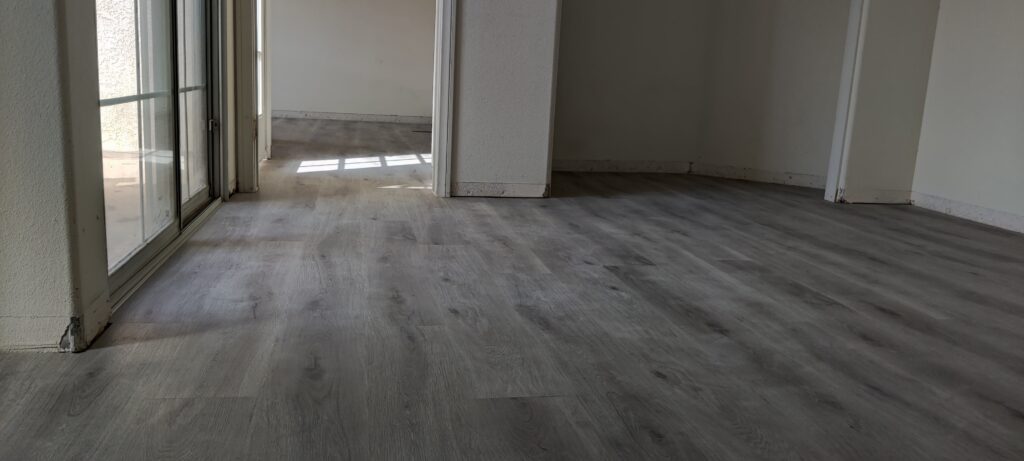
We decided to cover the whole house with vinyl flooring which runs all the way into the kitchen as well. This was the perfect options since it waterproof and quite and would stand up to daily kitchen use.
Planning (with IKEA tools!)
Planning the kitchen out and coming up with a good design was actually not too difficult thanks to the awesome 3D design tools available to us right on IKEA’s website. Using the planning tool, we were able to come up with a design that maximizes our space and at the same time makes it feel more open and spacious. Here is what we came up with…
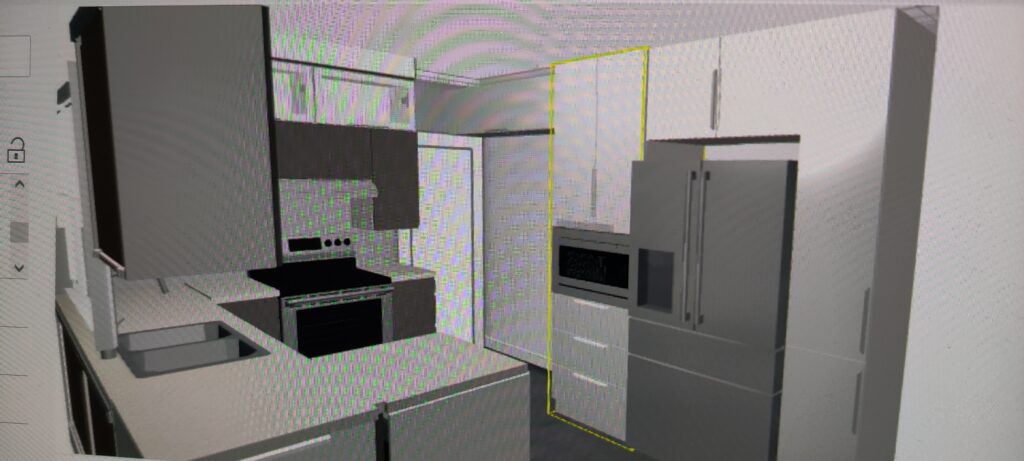
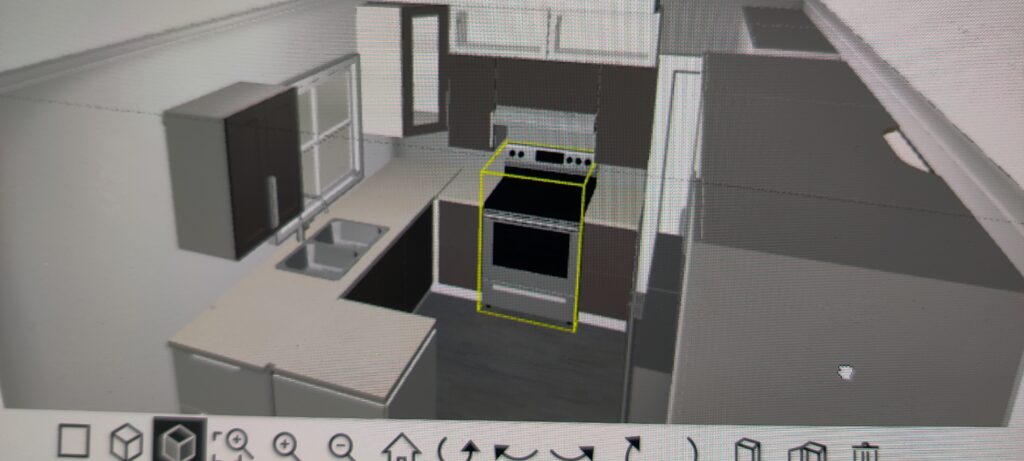
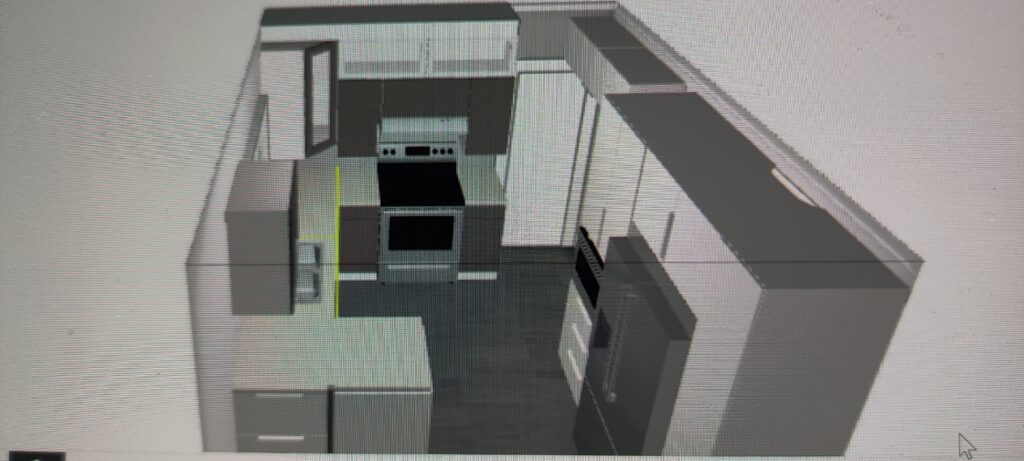
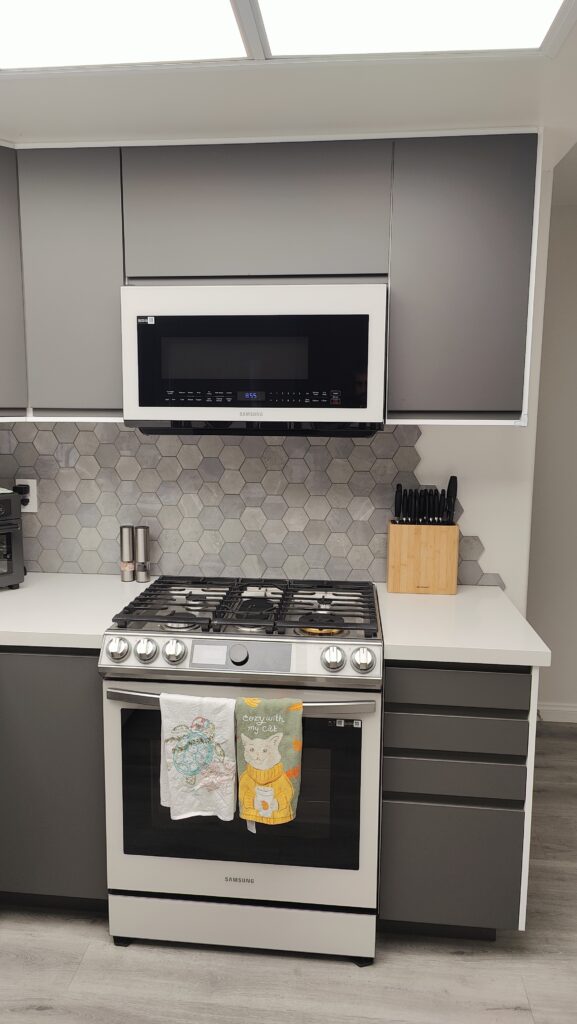
This design essentially stayed the same throughout our build, however, there were a few things we changed up along the way, such as placing the microwave above the range.
Lets pry open the paint buckets
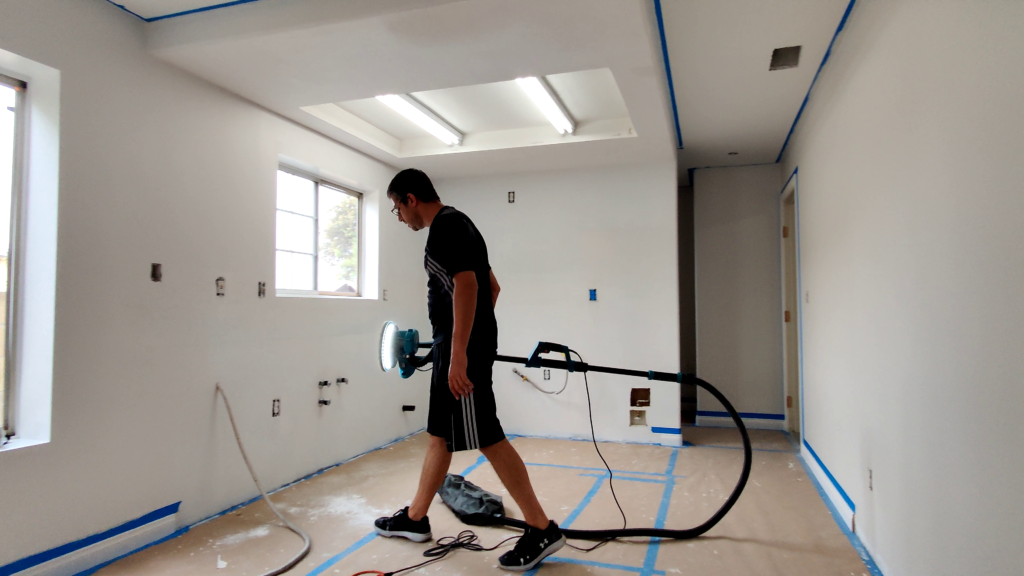
After planning was done, we had to prep the walls and paint them. We decided to get a lot of different paint options in sample size containers. We put them on the wall right next to each other to make comparing easier.
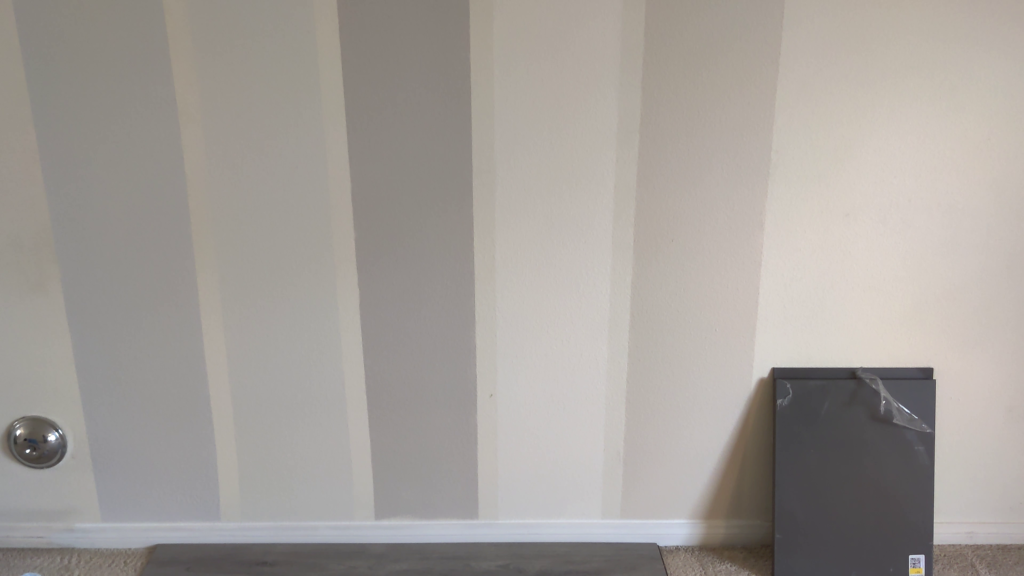
We also placed a piece of our flooring and a cabinet door right next to it, to see how the different paints contrast with the different colors.
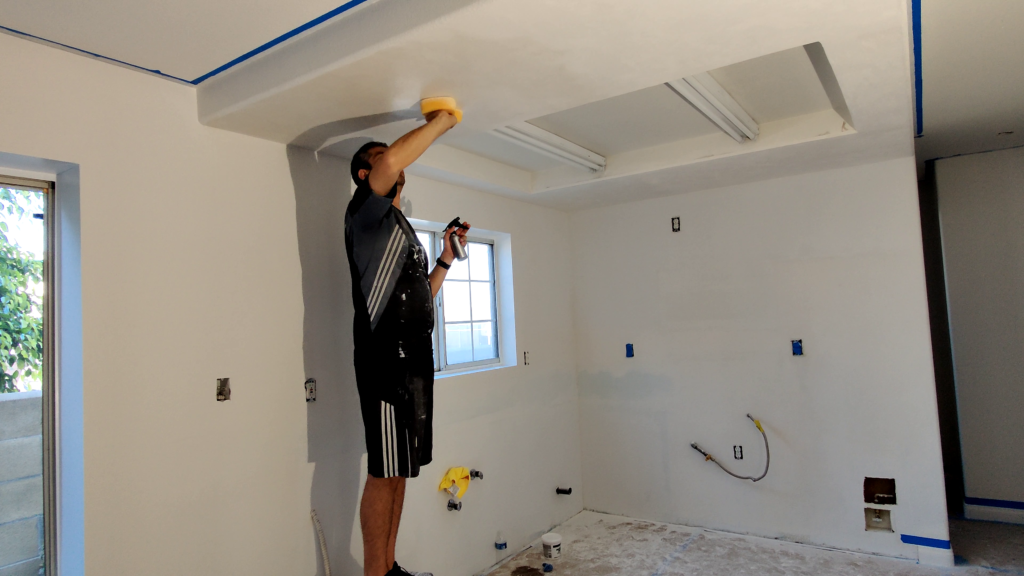
Once we picked out paint colors, we went to work. We began smoothing out any issues on the walls by patching with spackle and re-texturing the wall where needed.
When everything was prepared, we did a few coats of primer, then painted.
Working around existing piping, IKEA cabinet modifications
There was a couple of pipes that we had to work around. One of them was the gas pipe for the range. We decided to leave it behind a cabinet, but cut open a notch so that we can still hook it up and access it from within the cabinet as well.
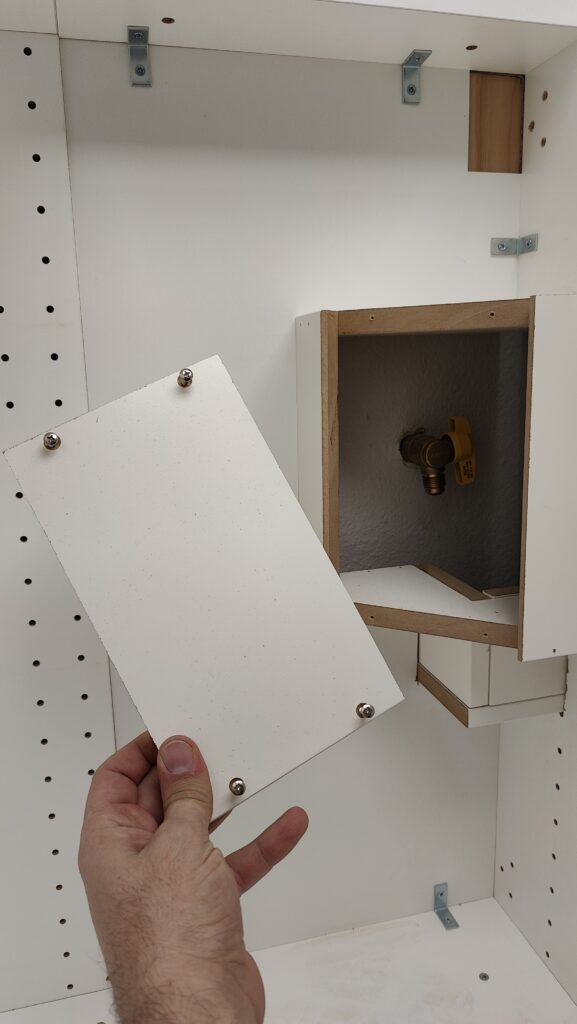

This cutout turned out to be very useful, since now we can access the gas pipe and shut it off without having to move the range out of the way first.
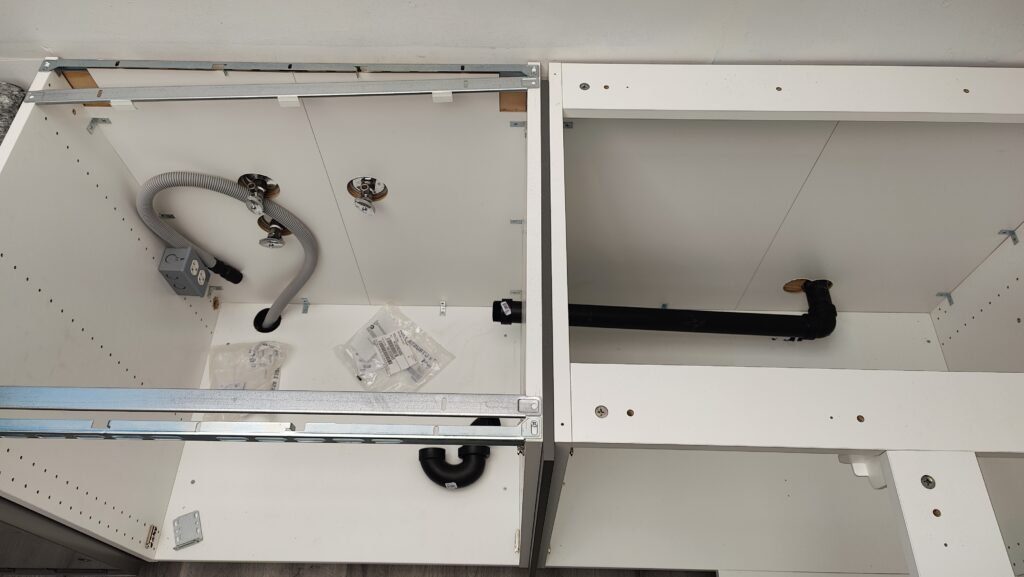
Another pipe we had to work around was the outgoing water pipe for the sink. It is unfortunately located at a corner, we had to extend it through a cabinet into the kitchen sink cabinet. This was how it was done with the old cabinets as well.
Building cabinet platforms, instead of using IKEA feet
Instead of using the leg system that IKEA offers for their cabinets. We decided to build our own platforms for the cabinets.
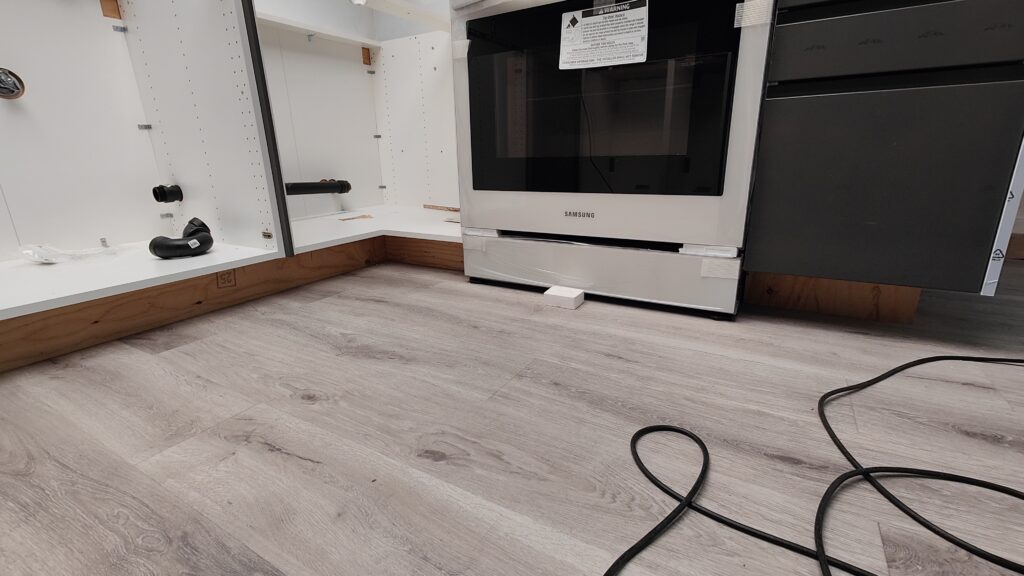
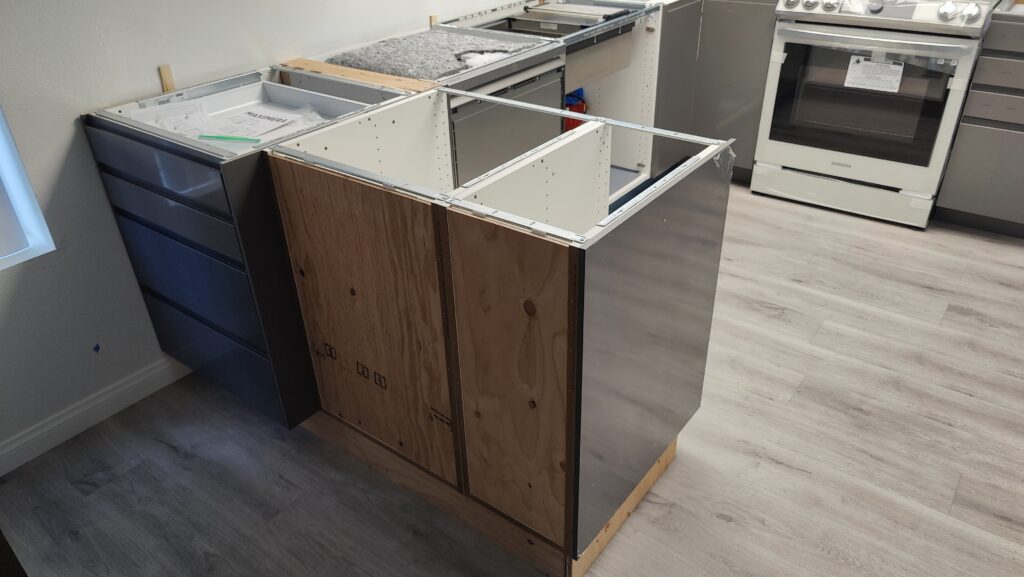
Building the platforms out of wood and pre-leveling them makes it much easier to install these cabinets and mount them against the walls correctly.
We also decided not to use the mounting brackets for the base cabinets and instead, I reinforced all the backs of the cabinets with 3/8 inch plywood and screwed them directly into the studs behind the walls.
Installing the IKEA cabinets
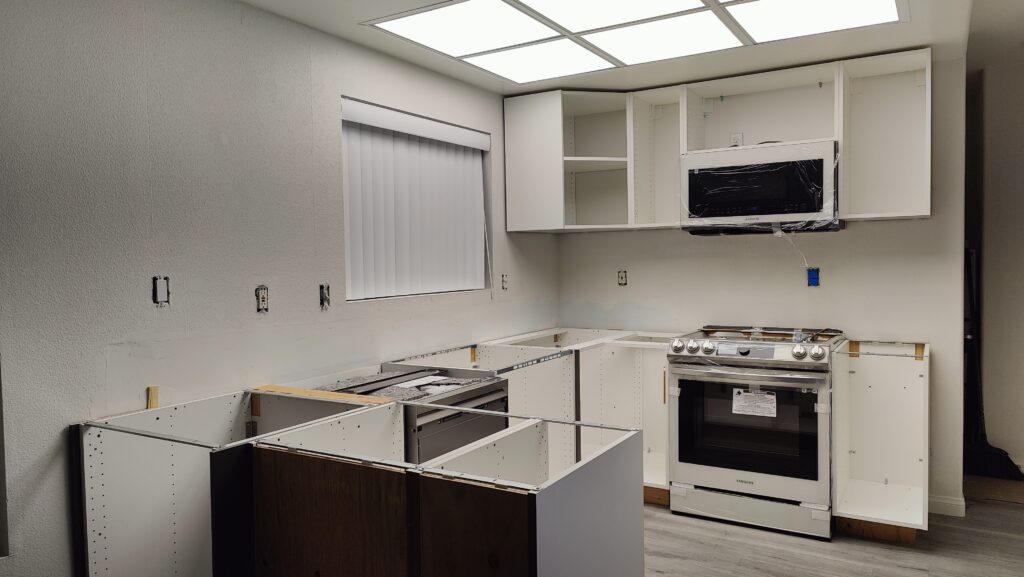
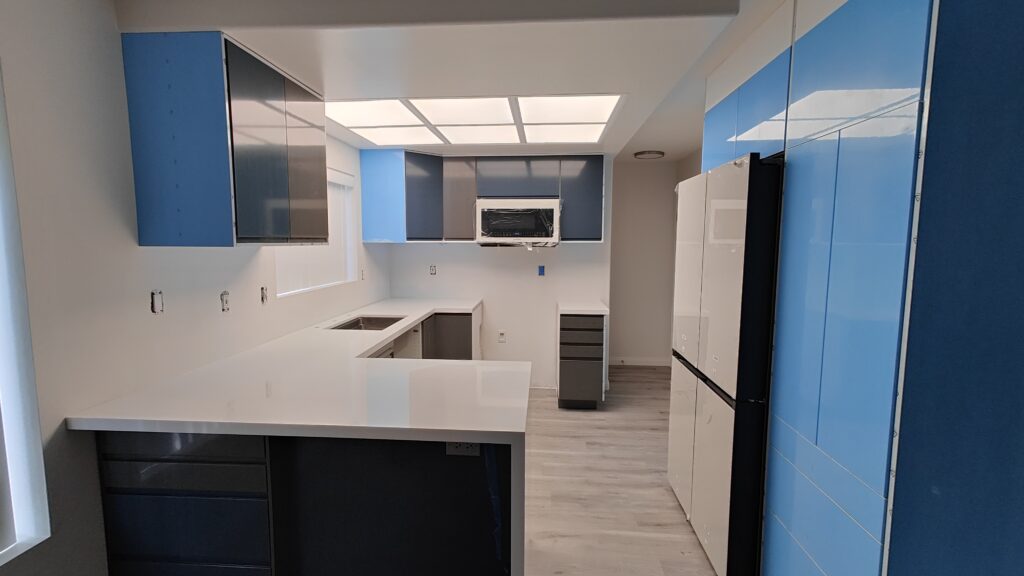
We went ahead and used the mounting rails for the wall cabinets and the tall cabinets. The IKEA mounting system is actually very good and makes it quite easy to mount cabinets straight. It is even pretty easy to work around wall warping, so long as its not really bad.
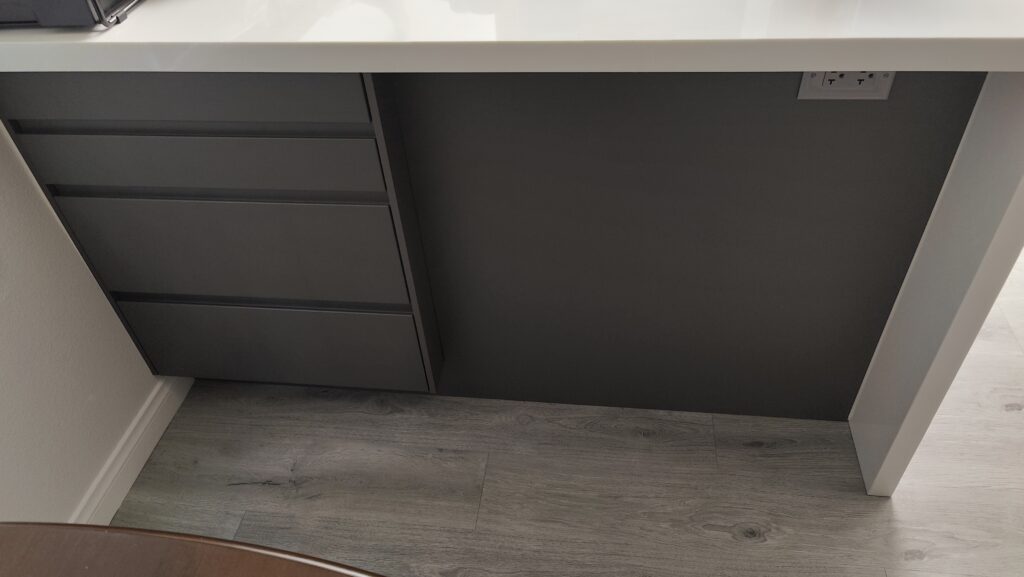
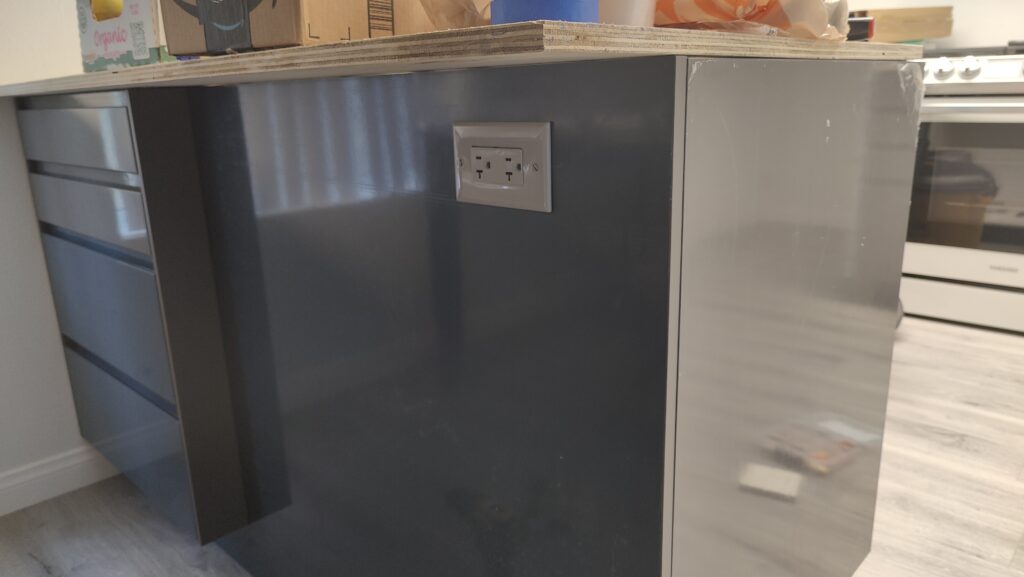
Peninsula power outlet
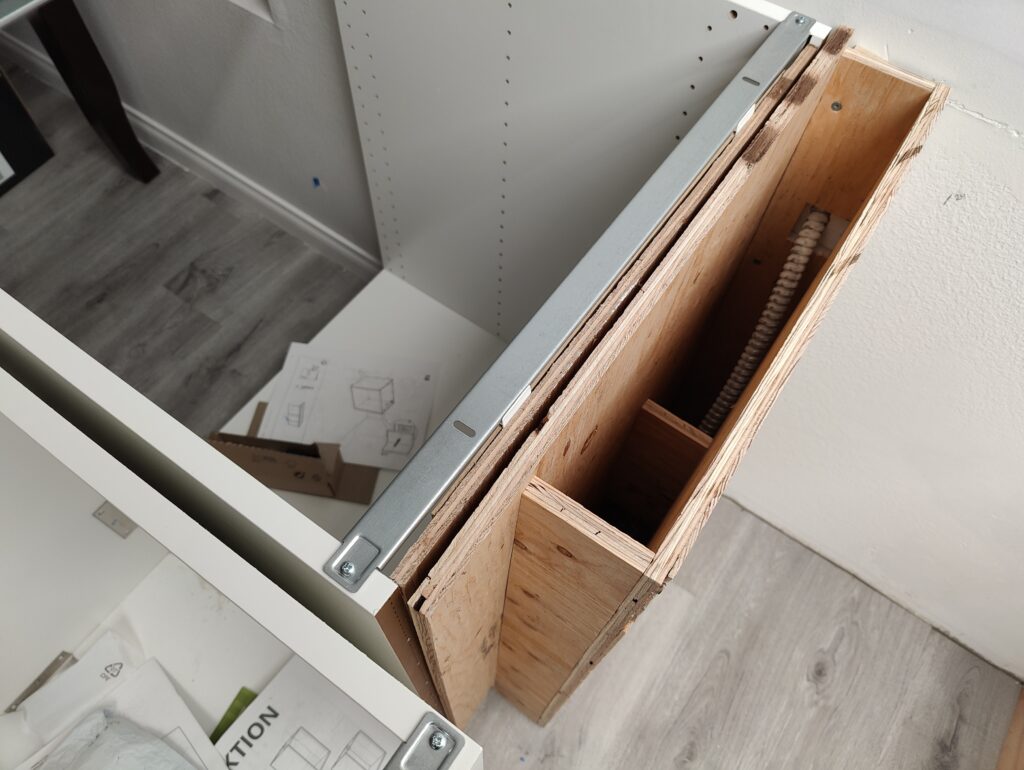
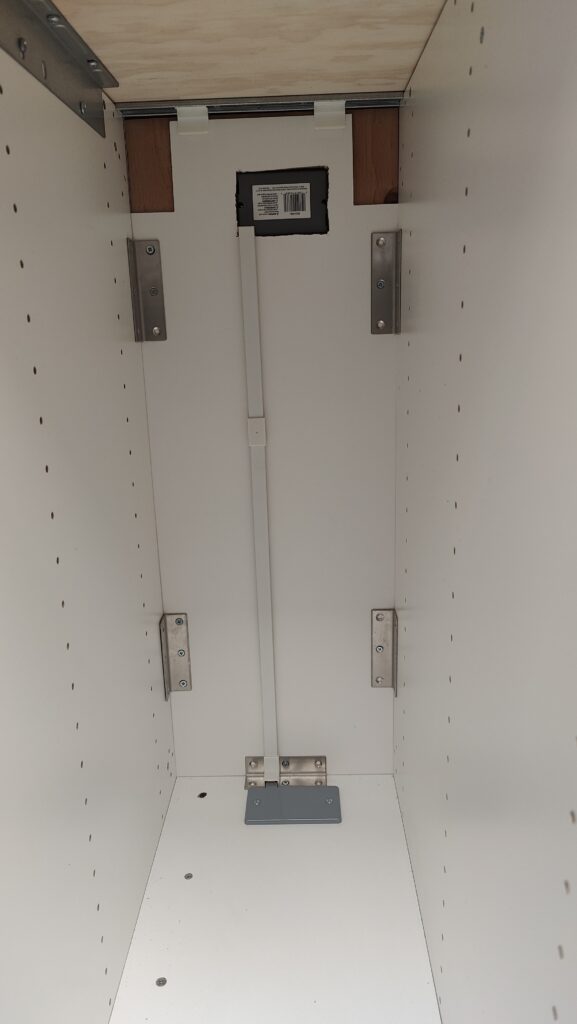
One thing we really wanted to have is a power outlet on the end of the peninsula. Having an outlet here would make it very easy to use kitchen appliances at the far end away from the walls. To accomplish this, we had to route power lines from under the platform and up into the last cabinet of the peninsula. I cut out a square from under the cabinet and placed in a junction box. From this junction box, I routed cables up into the back of the cabinet into a single-gang box for the outlet.
Countertop install over the IKEA cabinets
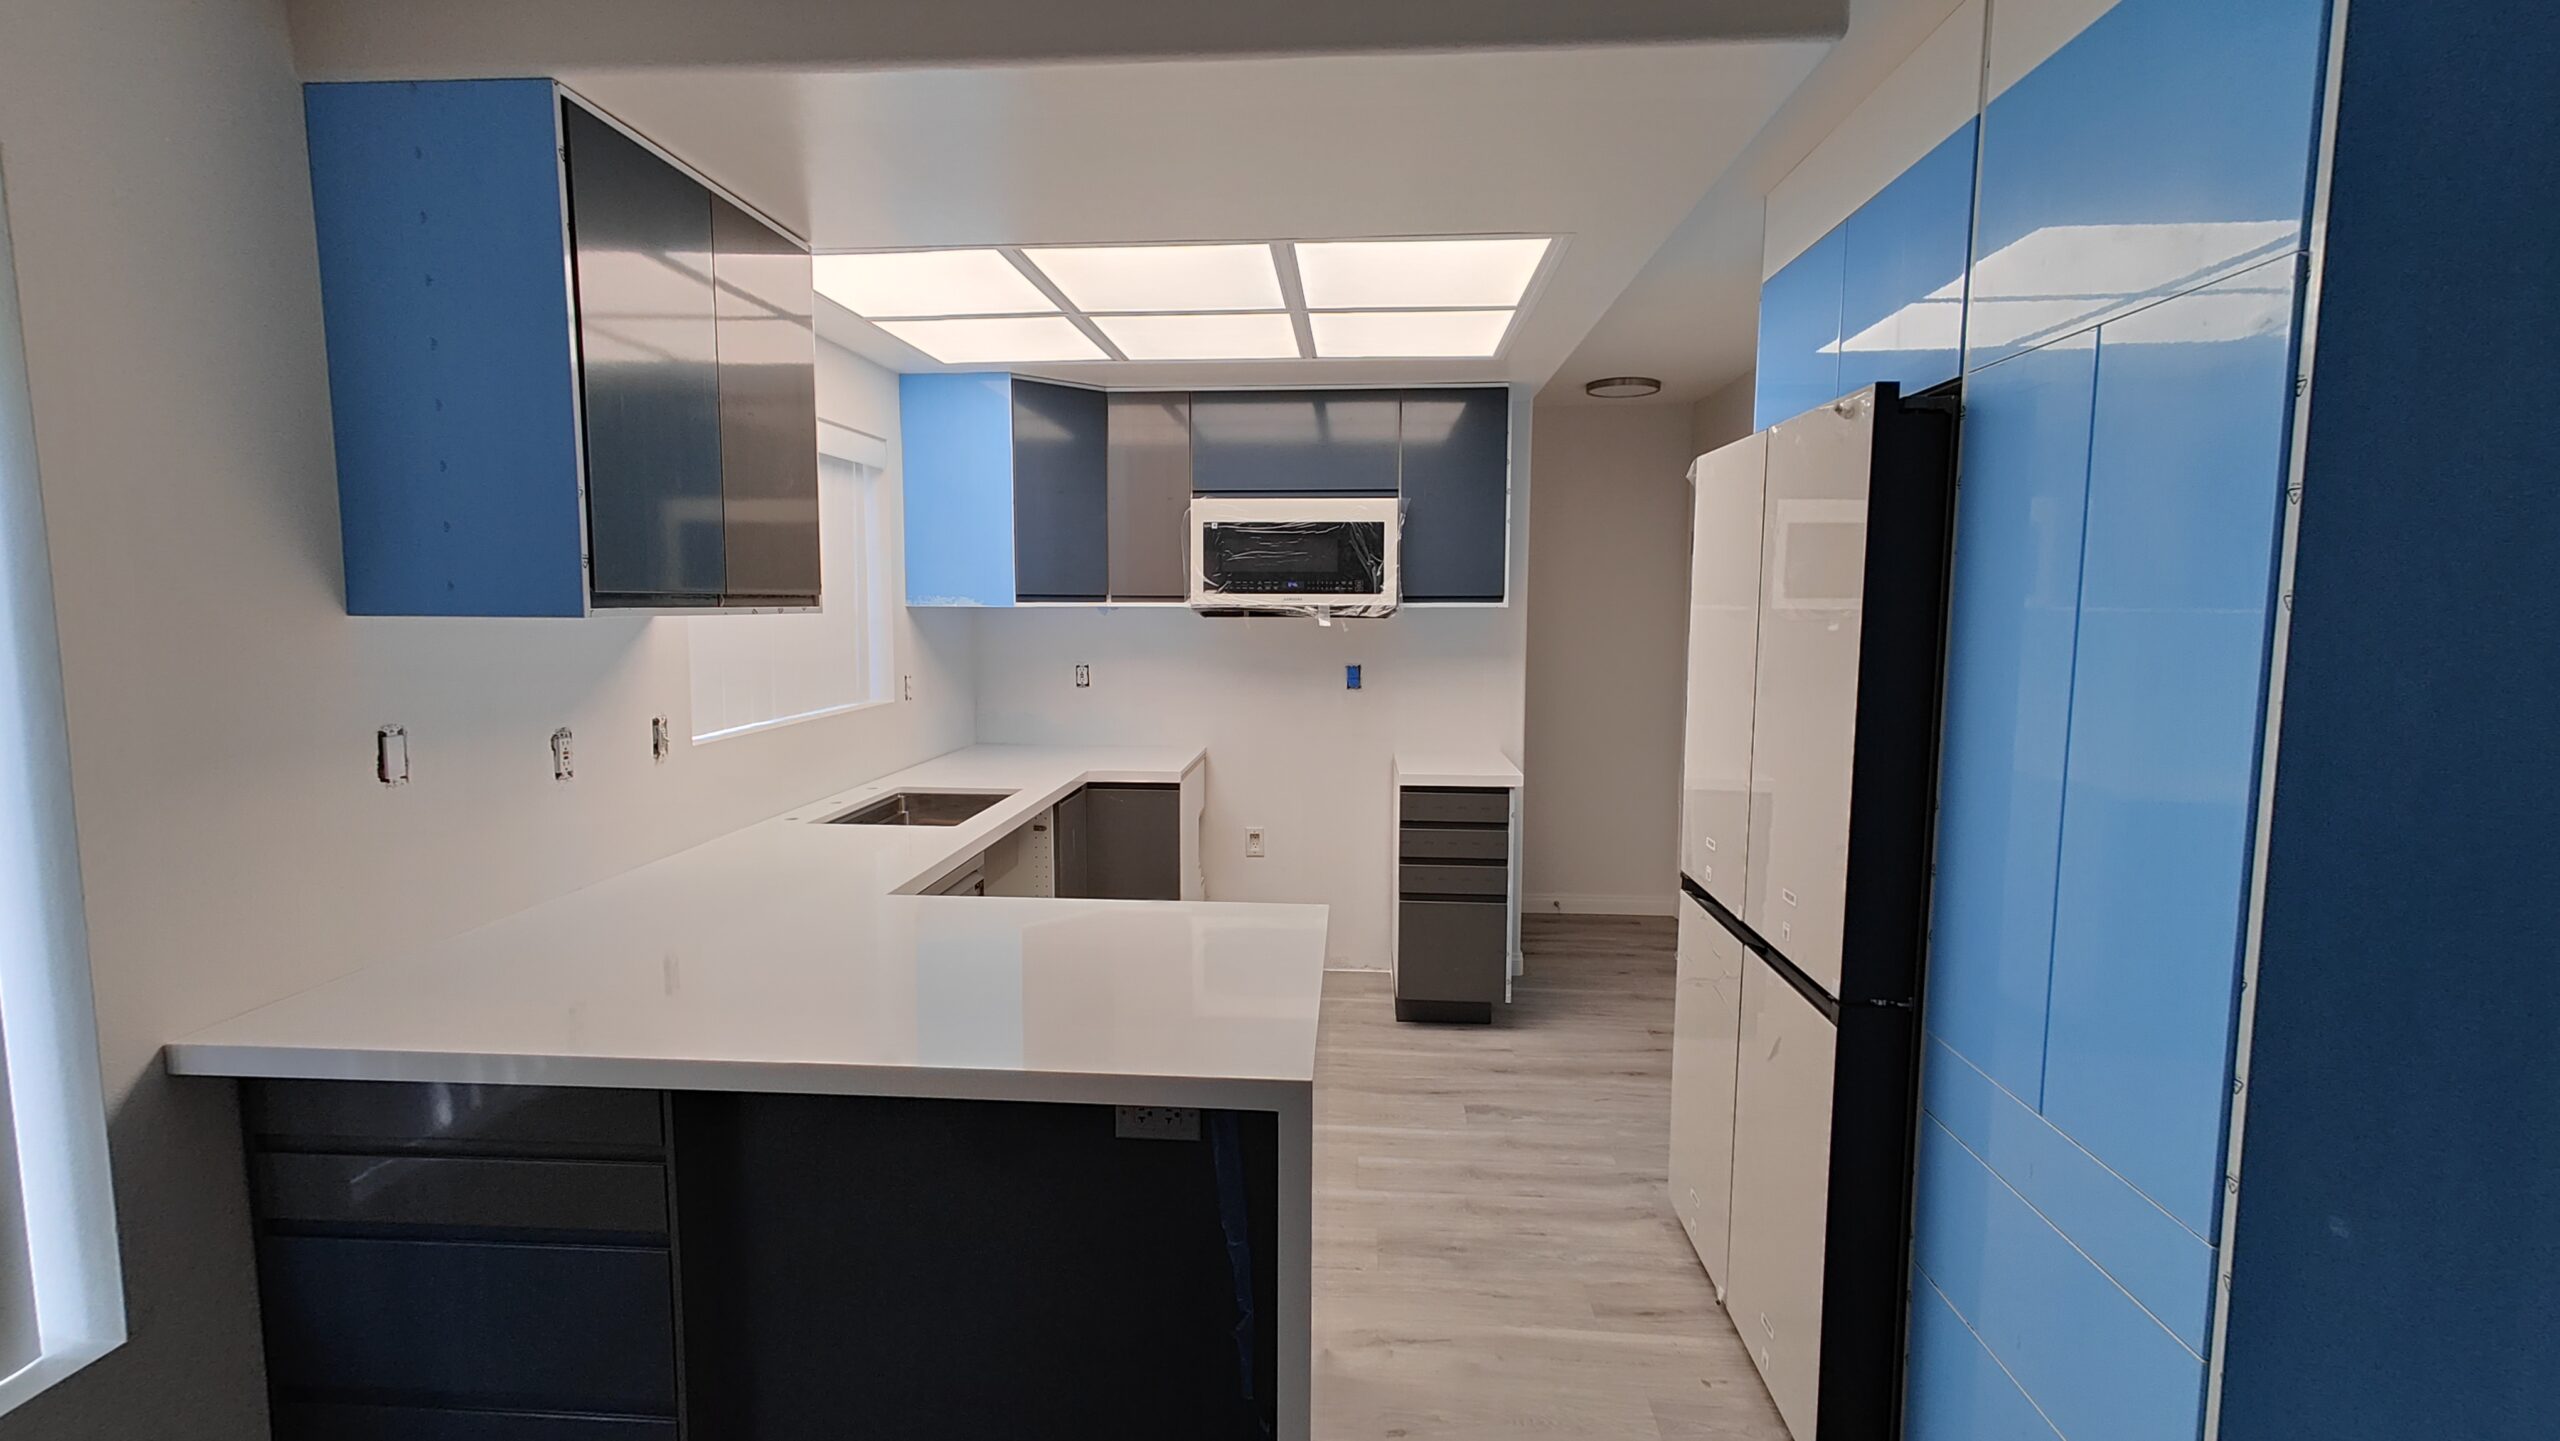
We knew that we wanted a quartz countertop, but we did not really know what color or pattern to go with. After visiting various countertop and tile stores all around Los Angeles, we finally chose the countertop we wanted. While the countertop was ordered and our installers were in the process of cutting and shaping the quarts for our kitchen, we went ahead and topped our cabinets with a nice thick plywood for the countertop to be installed onto.
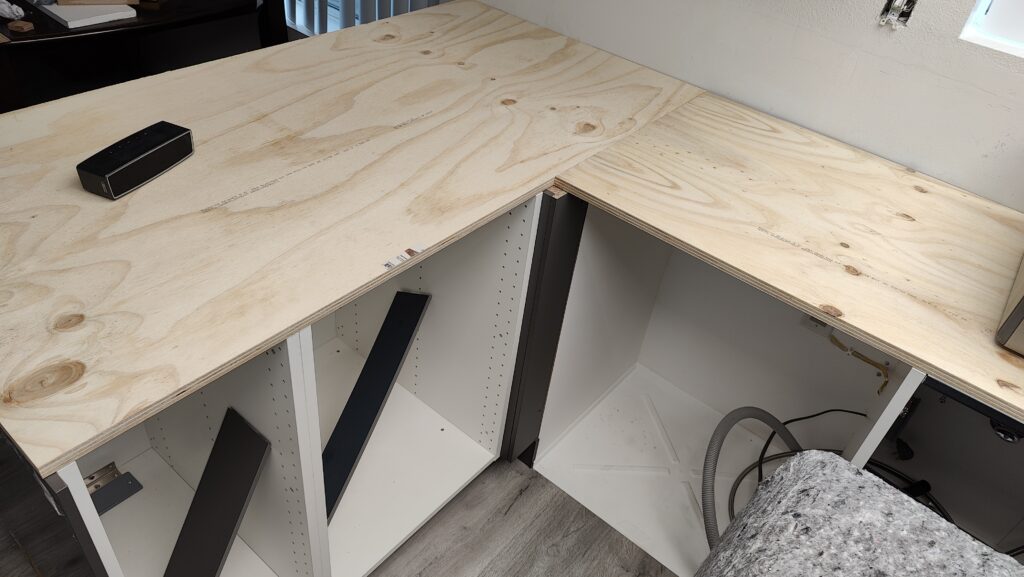
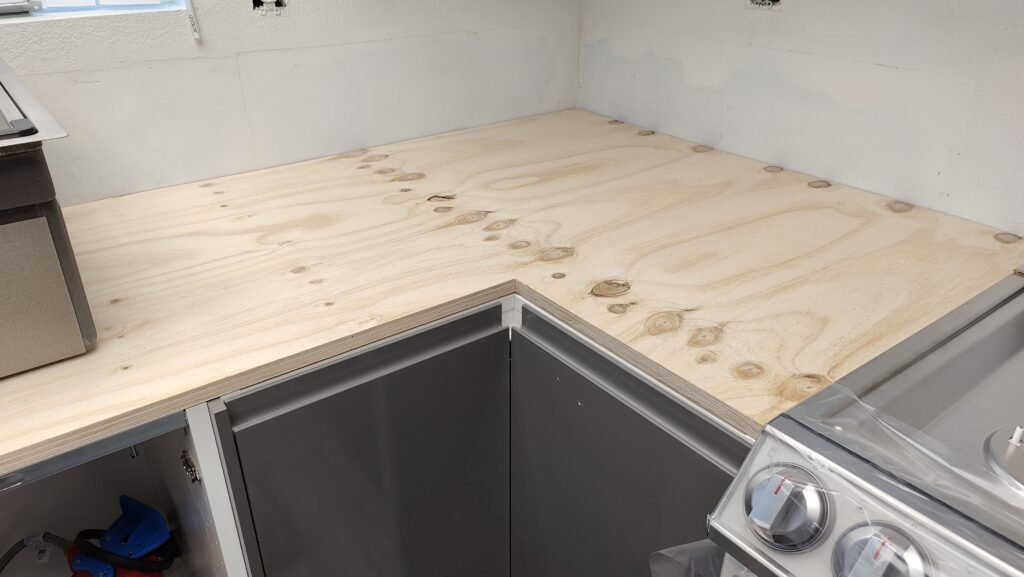
One of the things we did differently here is to use metal L brackets to secure the plywood from underneath. We wanted to make it easy to later remove and replace the countertops if needed, without damaging the cabinets.
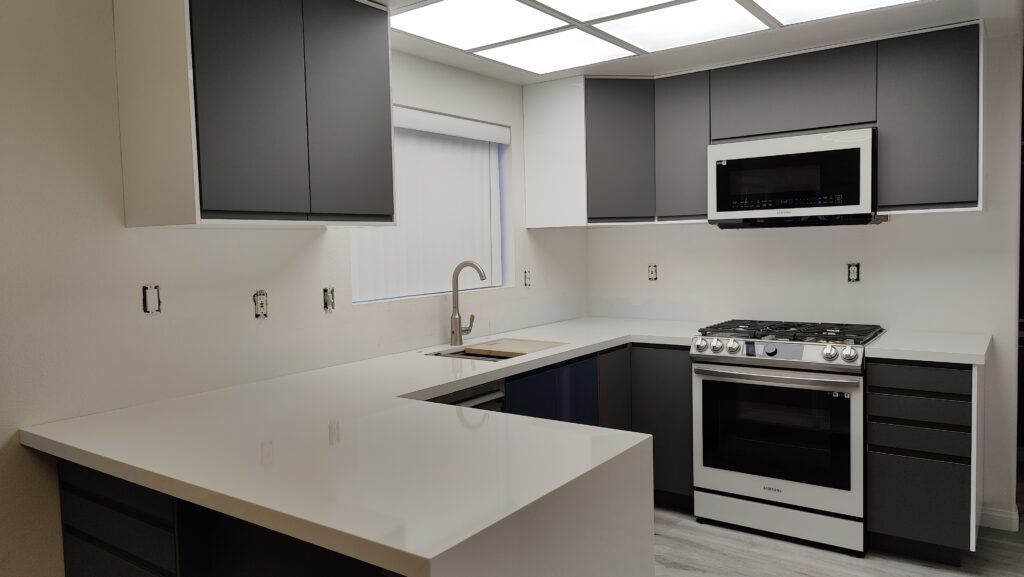
The countertop guys were very impressed with our kitchen and how well we had planned out the space and made use of as much real-estate as possible!
Installing the backsplash
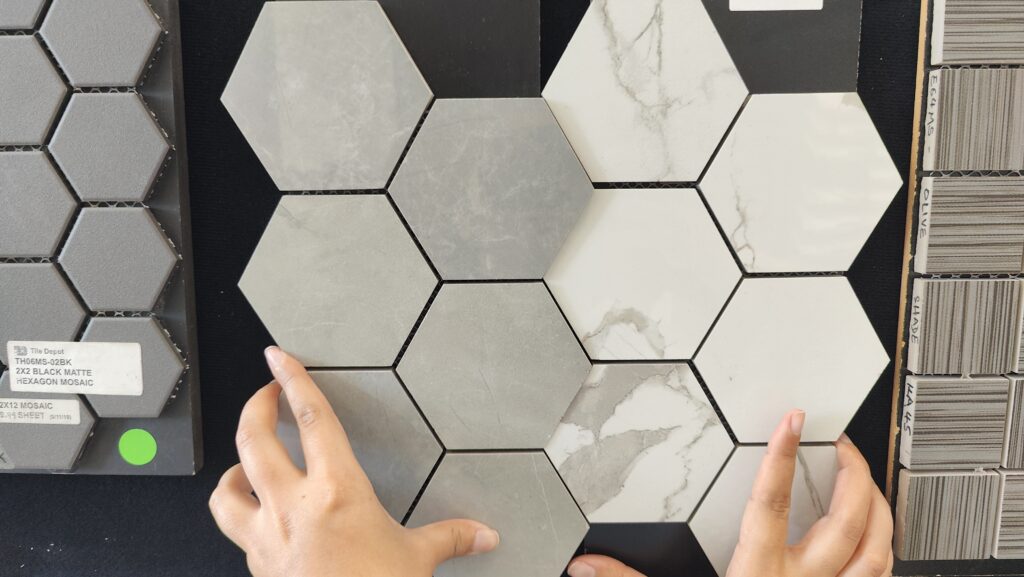
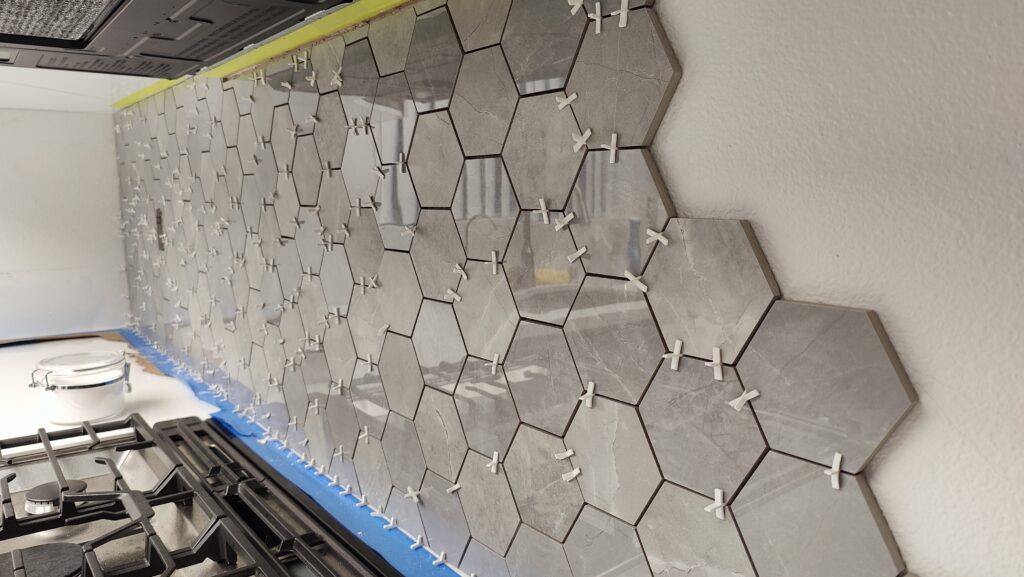
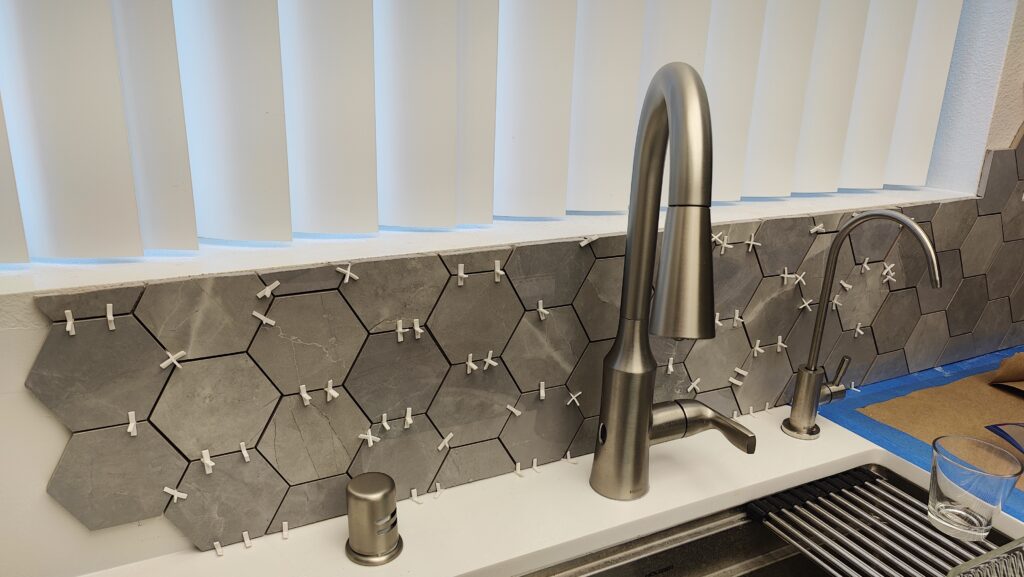
The only thing left to do was to install a backsplash to protect the walls from daily use. After some thought, we decided to go with hexagonal shapes. It took us a very long time to find the exact ones we really liked, but eventually came to a decision.
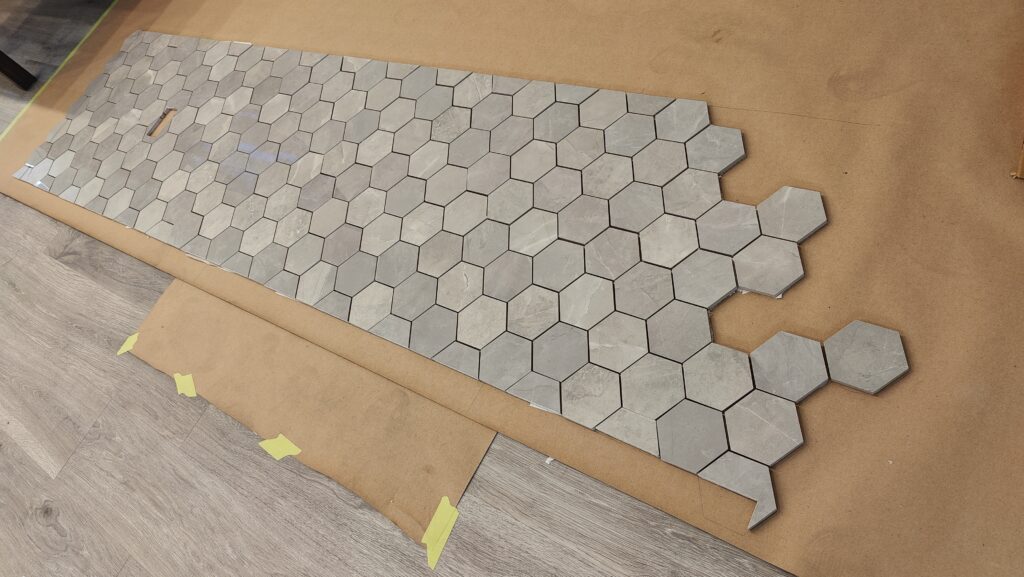
We went ahead and laid the tiles onto the ground first and made adjustments and cut around wall outlets and switches. This made it much easier to set the tiles onto the wall quickly without any mistakes.
A grout color decision had to be made. We were not sure what would match, so we decided to create some samples that we can put up against our walls and compare.
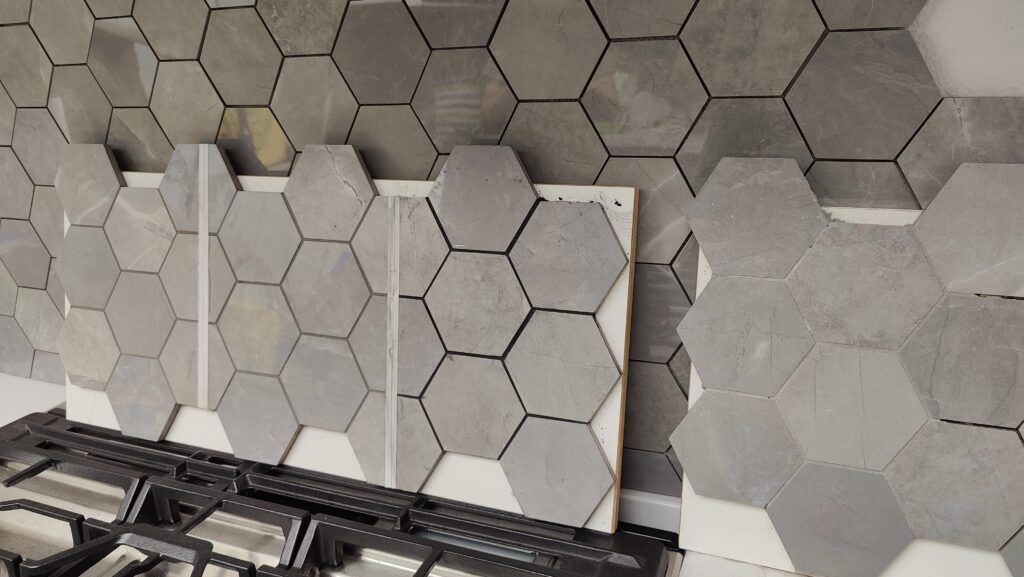
In the end we finally decided on the best looking grout and moved on.
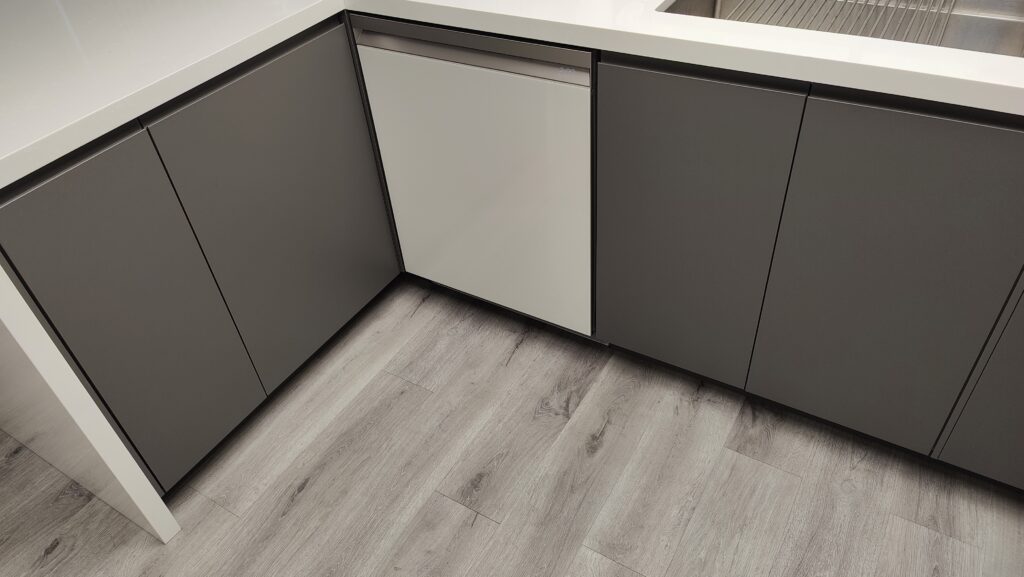
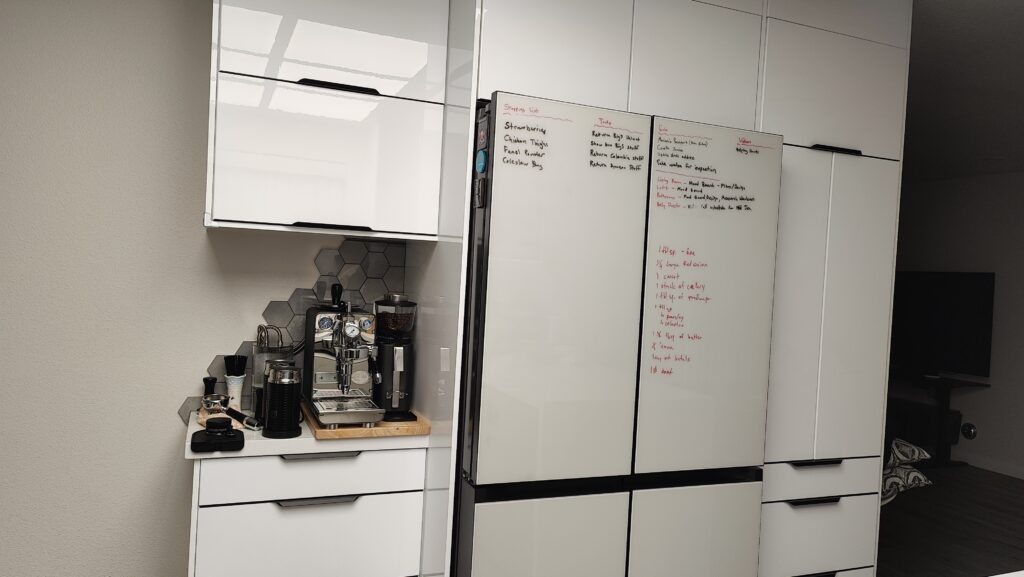
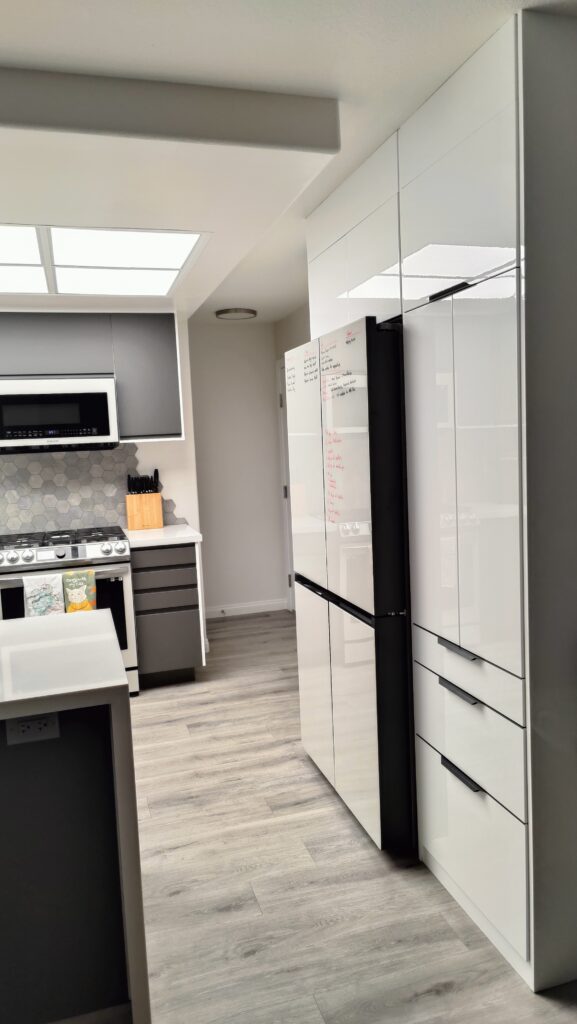
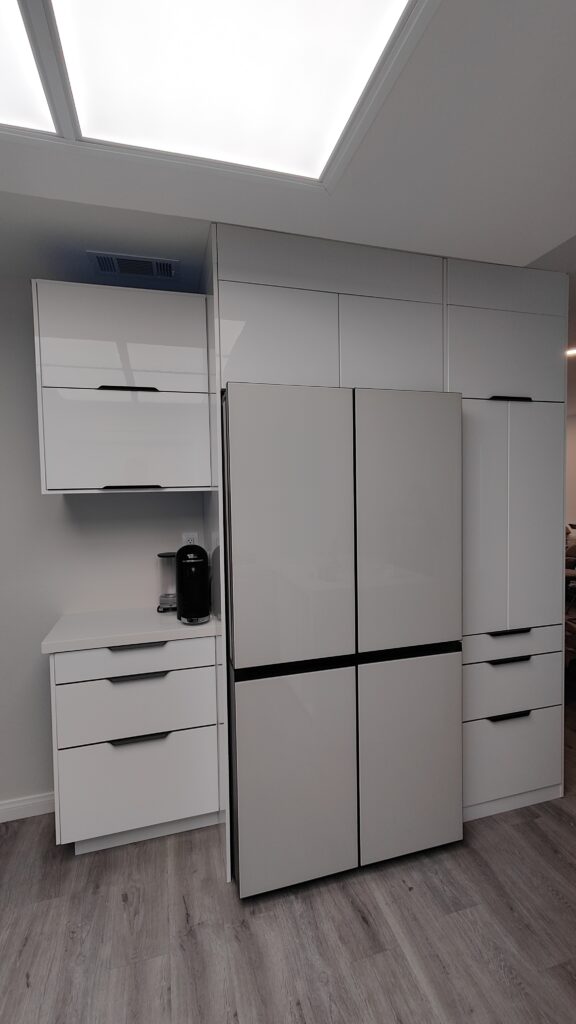
And finally we are done. Success with IKEA cabinets!
It was a very difficult project, but in the end, both my wife and I agreed that it was worth it.
